Let’s talk about SIEM and me…let’s talk about all the good things
Last week, we talked about automating your SOC with the Microsoft Sentinel Triage Assistant (STAT). So this week, we thought it would be a good idea to talk about how to get STAT deployed in your Sentinel environment.
Remember that STAT consists of a series of Logic Apps, API connections, and a Logic Apps Custom Connector. To use it, all these items have to be deployed in the same subscription and datacenter region as the Microsoft Sentinel playbooks that will take advantage of the STAT solution. If you want to use STAT in multiple subscriptions or datacenter regions, you must deploy STAT in each of those locations.
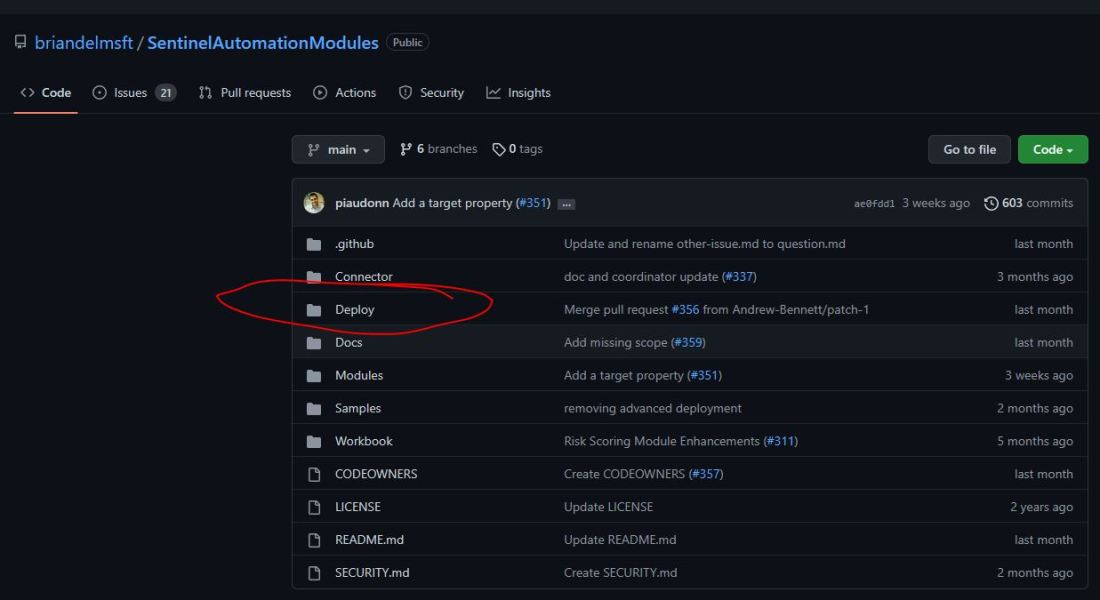
Ok. Now back to deploying STAT. First, head over to https://aka.ms/mstat. That takes you to a GitHub where you can either fork the code in your own repository or if you’re not a coder (like me) you can simply deploy it from there.
Click on Deploy in the list of contents.
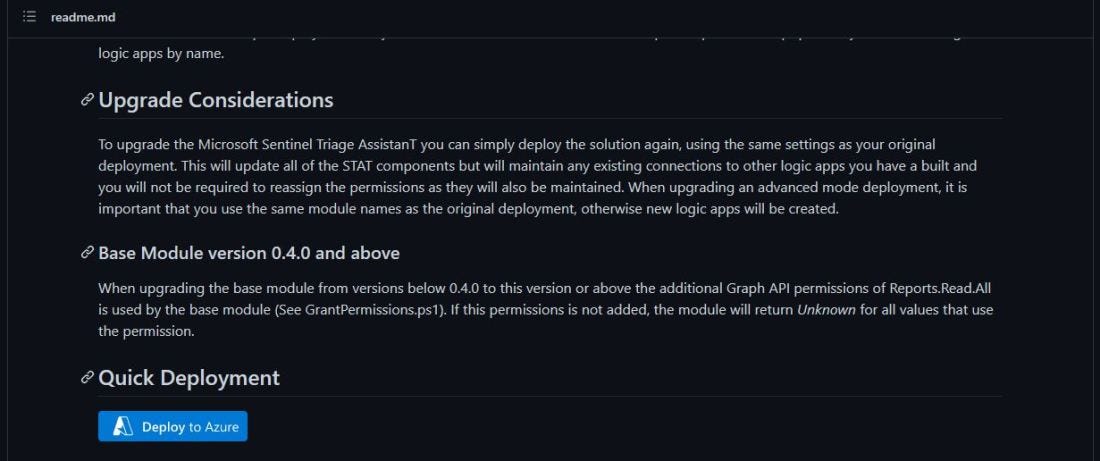
and then scroll down to the bottom and select Deploy to Azure.
This will take you into Azure to a Custom deployment page. Here you’ll need to select your Azure Subscription and the Resource group where you want to deploy STAT. You’ll also need to select the location where you want to deploy. In my case, it’s the East US.
Click Next.
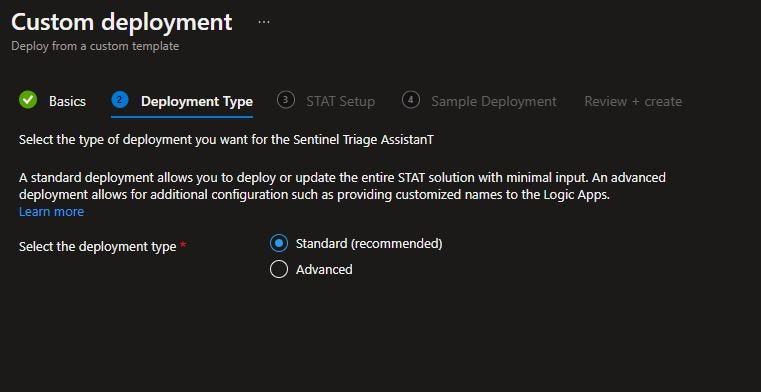
Select, Standard as your Deployment type.
Click Next.
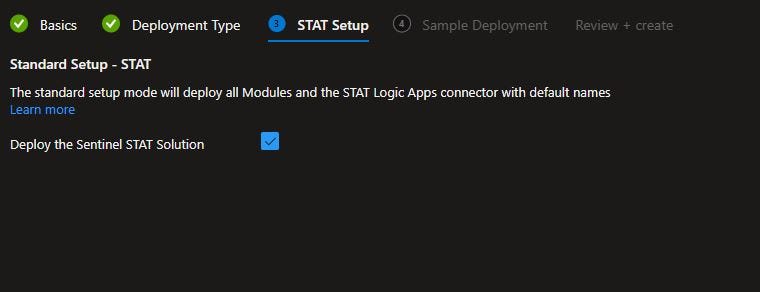
Don’t change anything on the STAT Setup page.
Click Next.
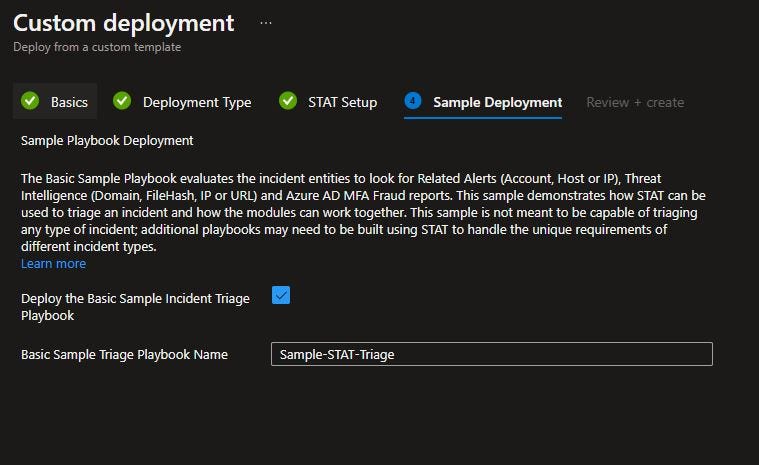
Check the box next to Deploy the Basic Sample Incident Triage Playbook on the Sample Deployment page. You can change the name of the Sample Playbook name if you like. I did not.
Click Next.
Confirm that everything looks the way you want it then select Create.
It should take about five minutes for everything to deploy.
After the deployment is successful, run the GrantPermissions.ps1 script to give STAT the permissions it needs. The GrantPermissions.ps1 script contains two types of permissions assignments that are set via PowerShell Functions – API permissions and RBAC permissions. Make sure you have an account that has the rights listed below.
If you don’t have a single account with both the Azure AD and Resource group permissions, you can run the Set-APIPermissions and Set-RBACPermissions calls separately under different accounts.
Once the PowerShell script is completed, you should have a working STAT solution in your Sentinel environment.
Next time, we’ll take a look at the STAT sample playbook to help you get familiar with the solution and maybe take a look at the Azure AD module.


